Connect Inverter Feeds (Enphase, SolarEdge & Tesla)
Last updated: October 7, 2026
Reading time: ~2-3 minutes
Overview
Coperniq connects directly to inverter platforms to securely ingest system, energy, and device data. Once connected, this data powers operational monitoring, alerting, preventive maintenance, and service memberships across your solar portfolio, giving teams better visibility into performance and service needs.
This article covers
How to access the Systems configuration area
Supported inverter platforms
How to connect Enphase, SolarEdge, and Tesla
What happens after a platform is connected
Security and privacy considerations
Getting to Systems
All inverter connections are managed from Systems.
Navigation
Click the Settings icon at the bottom of the left-hand menu.
Select Systems.
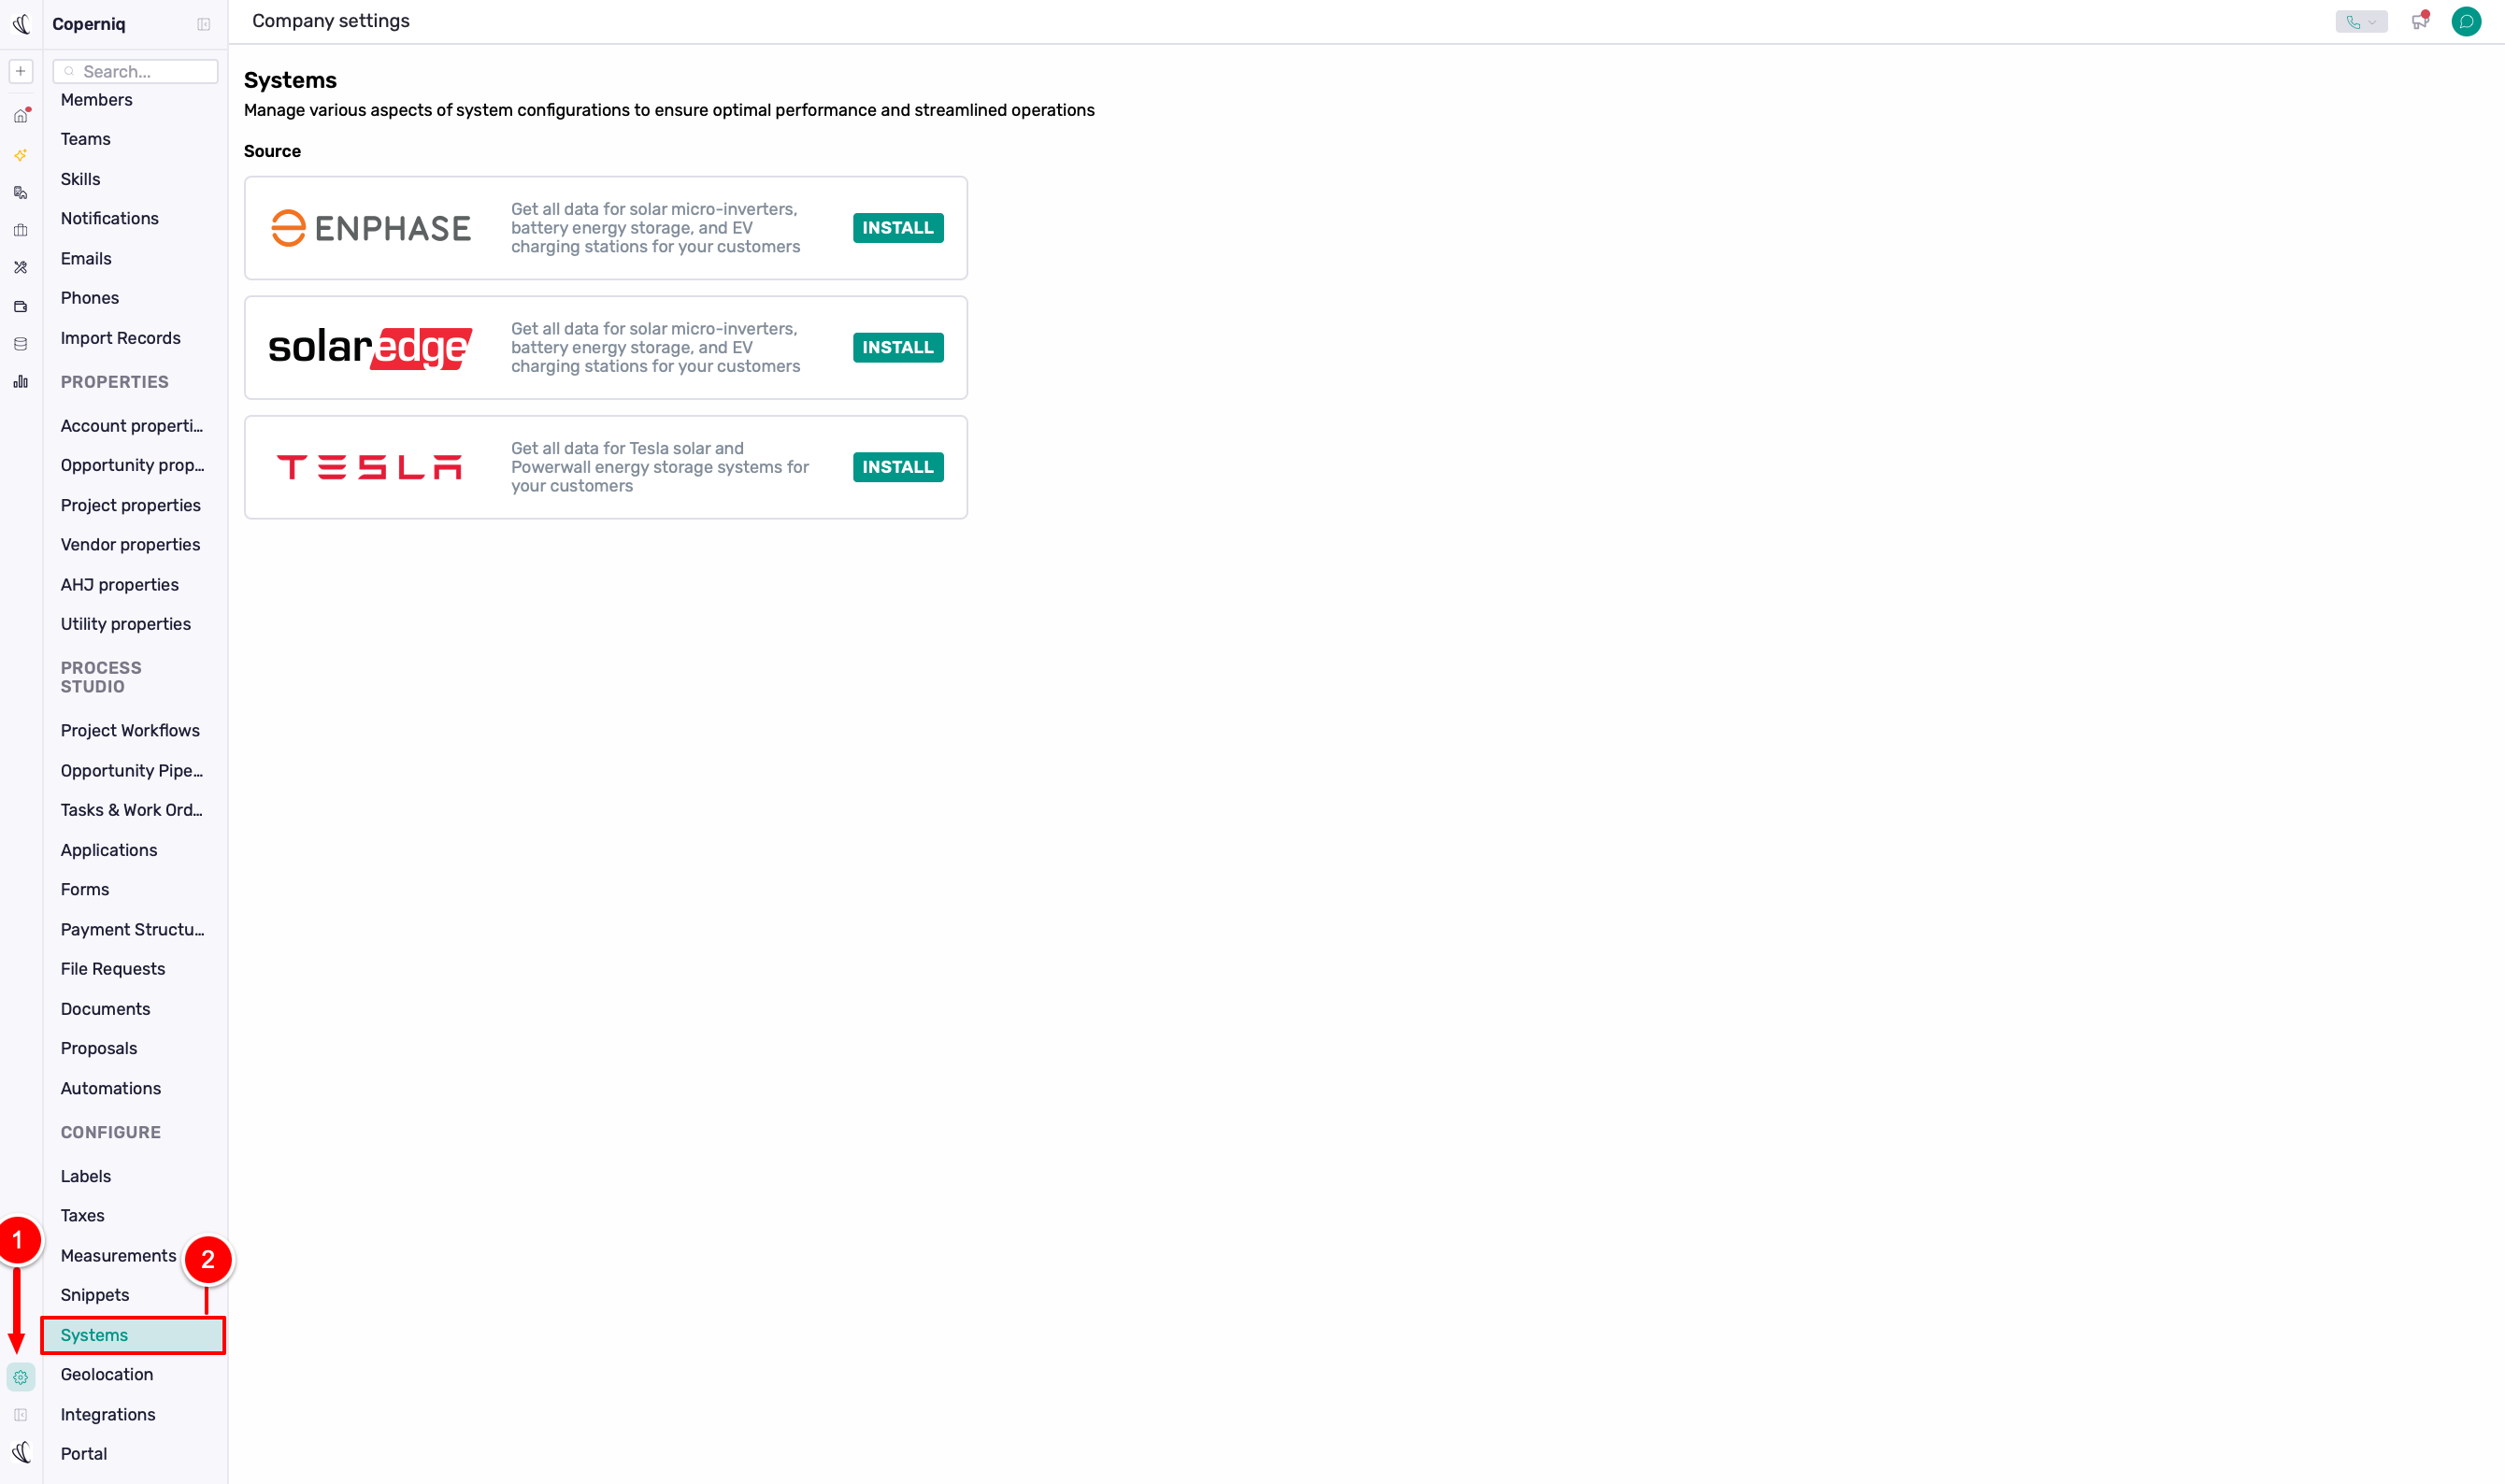
The Systems page is the control center for:
Inverter data sources
Monitoring configuration
API usage and budgets
Alerts and notifications
Supported Inverter Platforms
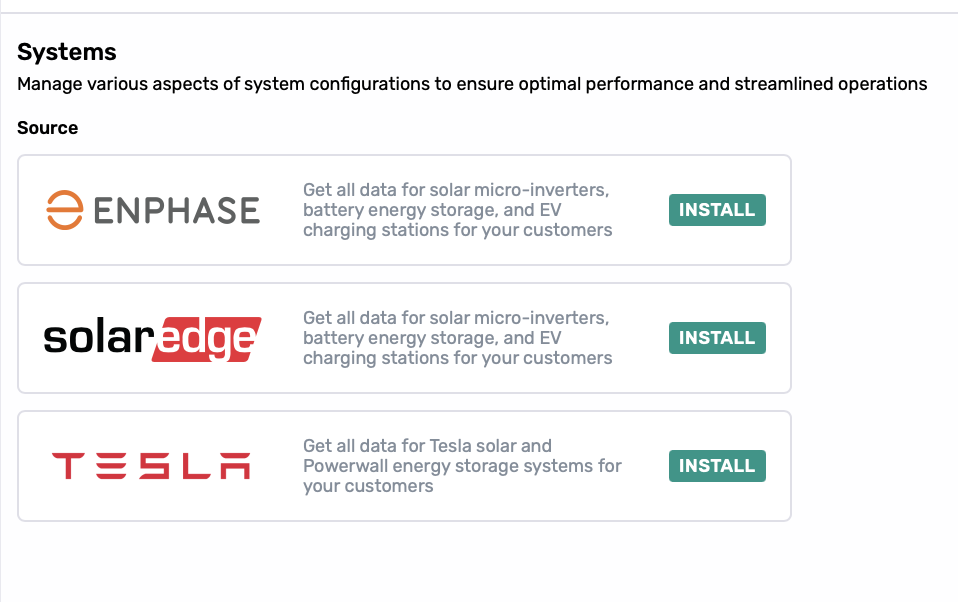
Coperniq currently supports the following production integrations:
Enphase
SolarEdge
Tesla
Each platform can be installed, paused, or removed at any time by workspace admins.
Who Can Connect
Only Admins and Superadmins can configure these integrations.
This ensures integrations are configured securely and consistently.
Connect Enphase
What You’ll Need
Before connecting Enphase, make sure you have:
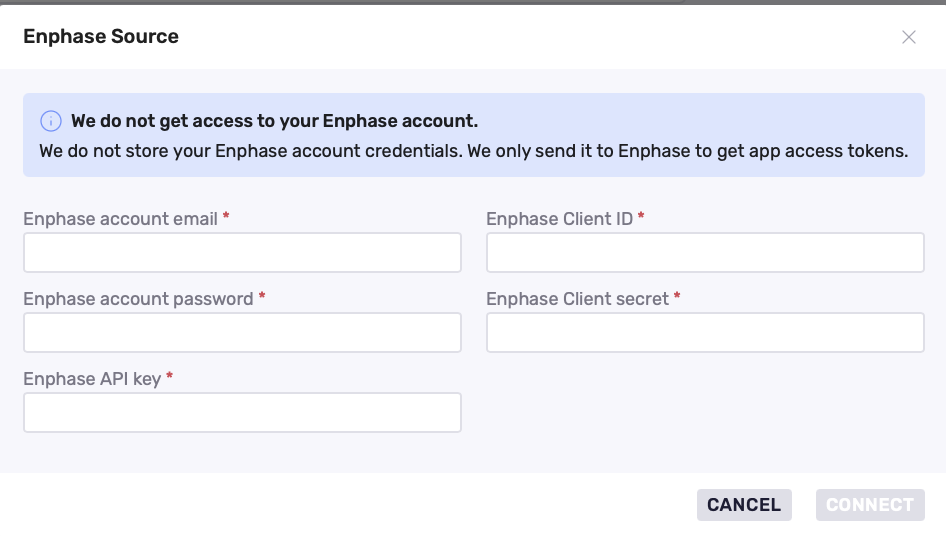
Enphase account email
Enphase account password, used once during setup
Enphase API credentials:
Client ID
Client Secret
API Key
API credentials are created in the Enphase Developer Portal. An installer-level plan may be required.
How to Connect
Go to Systems > Source.
Find Enphase.
Click Install.
Enter your Enphase credentials and API details.
Click Connect.
Connect SolarEdge
What You’ll Need
Before connecting SolarEdge, make sure you have:
SolarEdge Monitoring Portal access
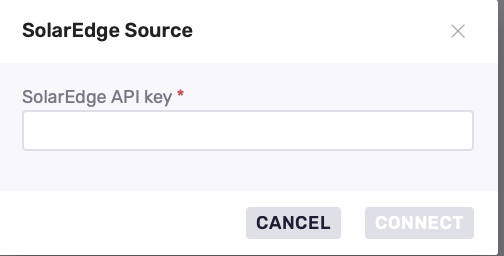
SolarEdge API Key
How to Connect
Go to Systems > Source.
Find SolarEdge.
Click Install.
Enter your SolarEdge API Key.
Click Connect
Connect Tesla
What You’ll Need
Before connecting Tesla, make sure you have:
Access to Tesla Powerhub
Permission to manage Access & Security settings in Tesla Powerhub
Permission to add allowlisted IP addresses in Tesla Powerhub
Tesla API credentials:
Client ID
Client Secret
Tesla generates the Client ID and Client Secret from the API Access section in Tesla Powerhub.
How to Connect
Step 1: Get your Tesla credentials
Sign in to Tesla’s Powerhub portal.
From the left-hand menu, click Access & Security.
Under the API Access section, click Add Client Credential.
Tesla will generate a Client ID and Client Secret.
Copy and save both values right away, as the Client Secret may only be shown once.
Step 2: Connect Tesla in Coperniq
Go to Systems > Source.
Find Tesla.
Click Install.
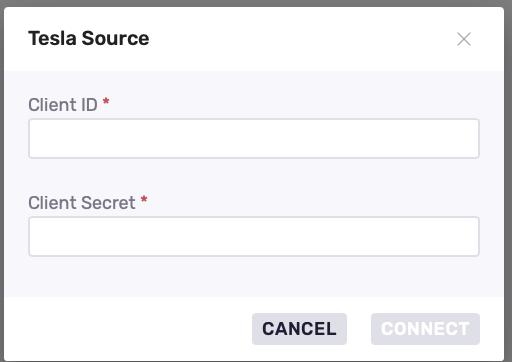
Enter the Tesla Client ID and Client Secret.
Click Connect.
Step 3: Allowlist Coperniq’s IP addresses
Return to Tesla Powerhub.
Go back to Access & Security.
Under the IP Addresses section, add the following Coperniq IP addresses one by one:
54.177.173.159/3254.176.49.138/3252.9.154.159/32
Save the IP address changes in Tesla Powerhub
This step is required. If these IP addresses are not added, Tesla will not allow any connection from our servers, and Coperniq will not be able to retrieve the metrics.
After You Connect
Coperniq starts the initial import and you may see Initializing while systems sync.
API usage becomes visible in Budget and on the provider Source card.
You can pause or revoke the connection later from Systems > Source.
Security & Privacy
Passwords are never stored
API keys and tokens are encrypted at rest
Connections can be paused or revoked at any time
Best Practices
Connect inverter feeds before configuring alerts or fleets
Verify API access and quotas with your inverter provider
Start with a limited fleet to validate data quality
Monitor API usage during the first sync
For Tesla, make sure all Coperniq IP addresses are added one by one in Powerhub.