Timesheets
Last updated: October 7, 2026
READING TIME ~3 minutes | AREA Project Record → Total Labor |
Overview
Timesheets in Coperniq automatically track travel and working time tied to your projects and work orders. This helps teams capture time spent in the field, review job effort, and export accurate time data for reporting or payroll—without relying on manual tracking.
How Timesheets Are Created
Travel Time
When a user updates a Field / Service Work Order status to On the Way, Coperniq automatically creates a Travel time entry.
Travel entries include:
Related project / work order
Start and end time with duration
Mileage
Working Time
When a user clocks in and clocks out on a work order, Coperniq automatically creates a Working time entry.
Working entries include:
Related project / work order
Start and end time with duration

Where to View Time Entries
On the Work Order
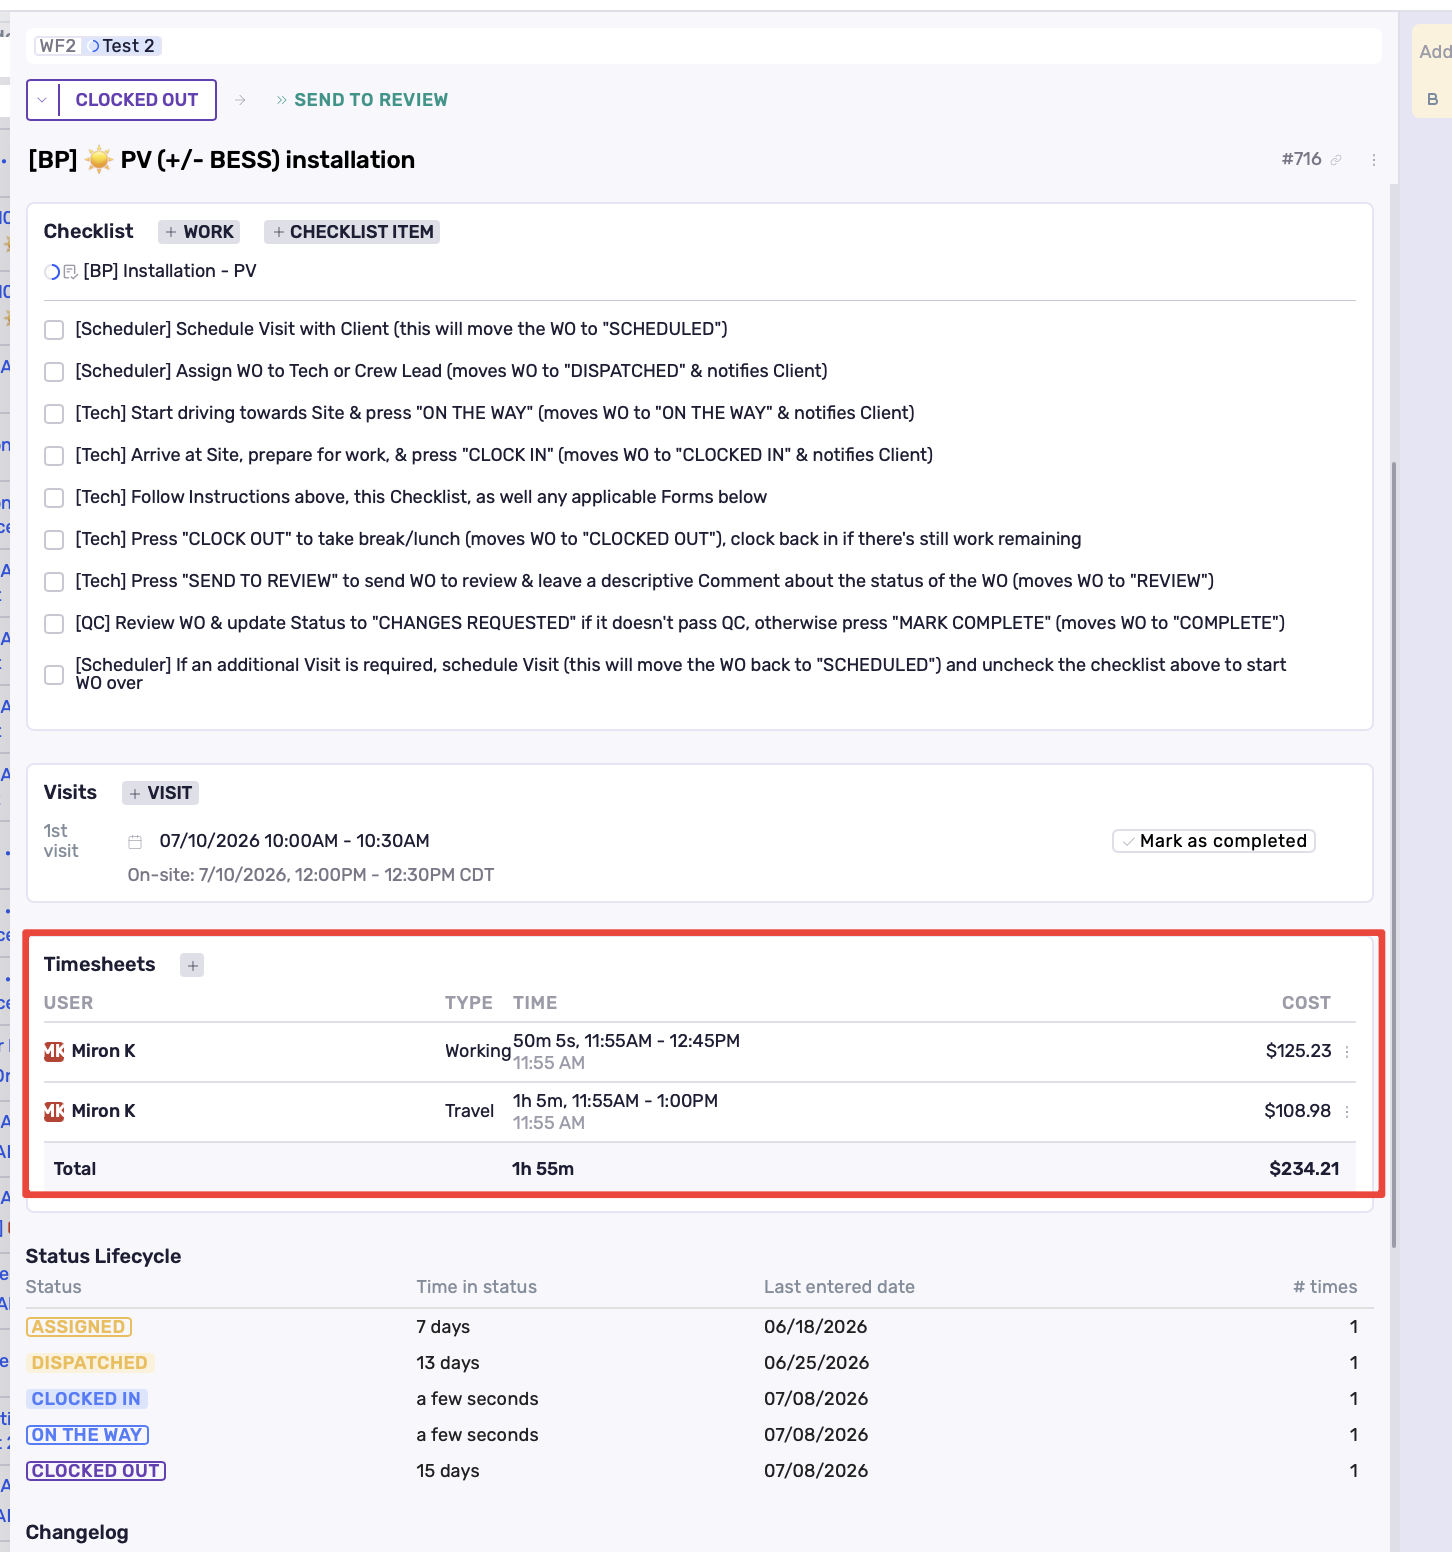
Each work order includes a Timesheets section where related time entries appear.
From here you can:
View travel and working entries tied to the work order
Timesheets Page
You can also review all time entries from:
Go to Financials from the left menu → Timesheets
The table displays details such as:
User
Related Record
Work Order
Type — Working or Travel
Time — duration and time range
Mileage — for travel entries
Filters at the top allow you to narrow results by user, record, work order, or entry type.

From the Project Financials Tab
You can also view project-related time entries directly from the project.
To access them:
Open the project.
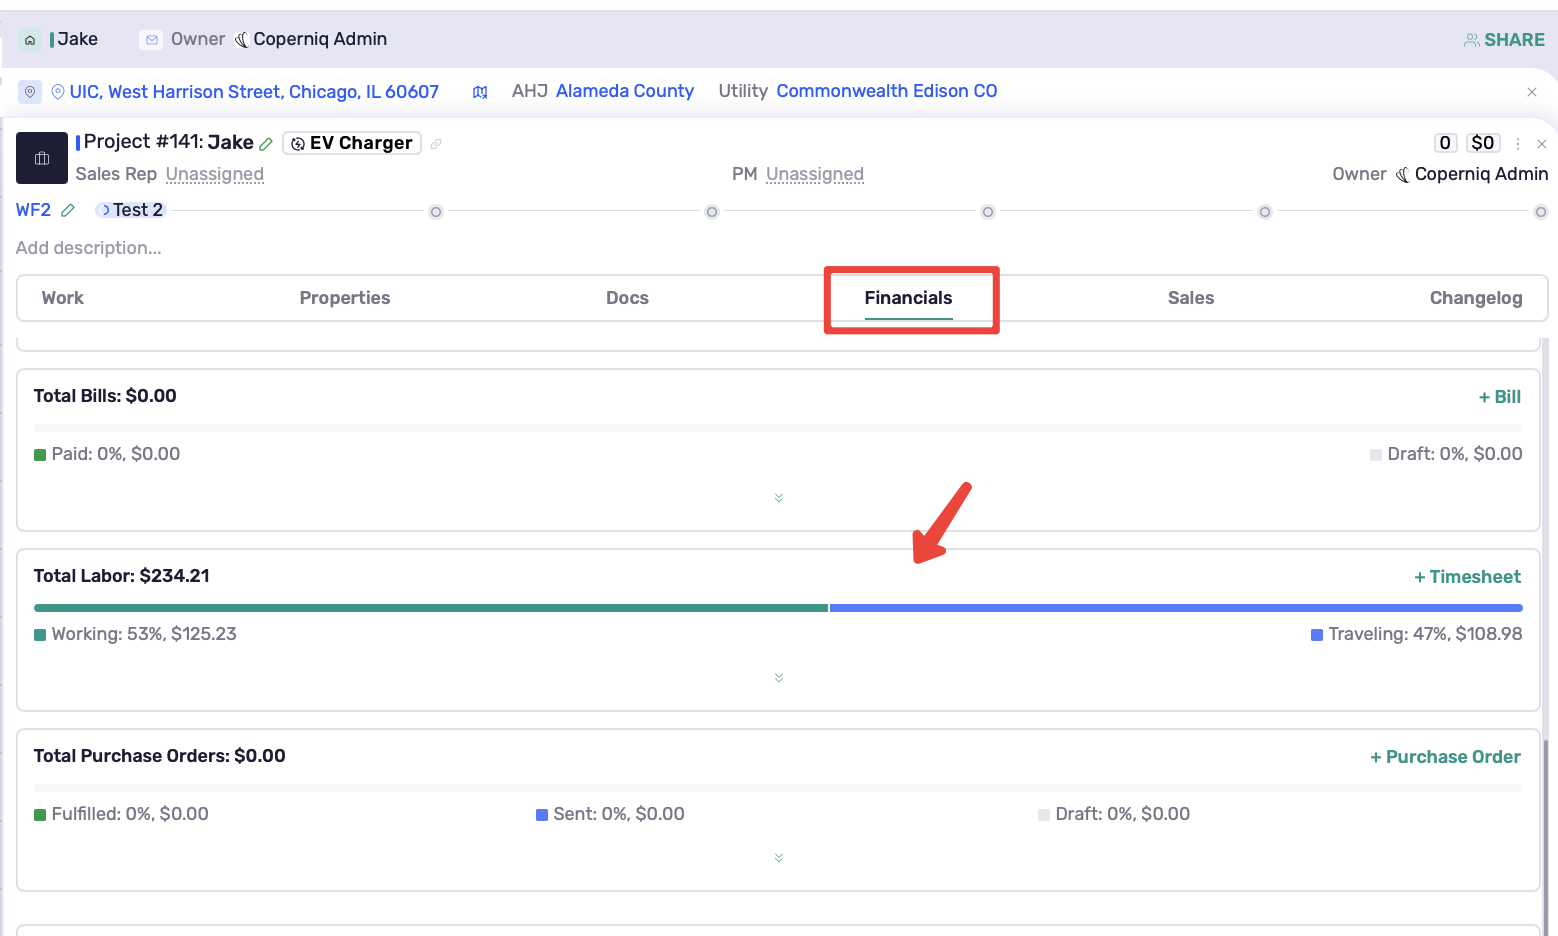
Go to the Financials tab.
Scroll down to the Labor section.
From here, you can view time entries related to that project.
Creating a Manual Time Entry
Manual time entries can be created from several areas in Coperniq, depending on where you are working.
Area | Steps |
|---|---|
Work Order | Open the Work Order, go to the Timesheets section, click +, enter the time entry details, and save. |
Timesheets page | Go to Timesheets from the left menu, click + Time Entry in the top-right corner, enter the details, and save. |
Project Financials tab | Open the project, go to the Financials tab, scroll down to the Labor section, click + Timesheet, enter the details, and save. |
When creating a manual time entry:
The start time defaults to one hour earlier.
The end time defaults to the current time.
Both times can be edited before saving or updated later.
Exporting Timesheets
To export timesheets:
Go to Timesheets from the left menu
Apply filters (optional)
Click Export CSV
The export will follow your filters and include the fields shown in the table.

Archiving Time Entries
Archive an Entry
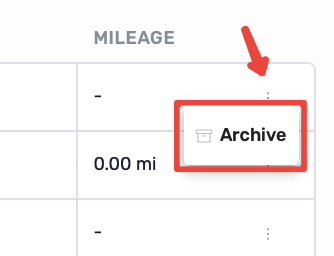
Click the three-dot menu (⋮) on the right
Select Archive
View Archived Entries
Go to Timesheets from the left menu
Enable the Show archived toggle at the top of the page
Archived entries will appear in the list.

Permissions and Visibility
Timesheets follow record access permissions.
If a user does not have access to the related project or work order, those time entries will not appear for them. As a result, the Timesheets page may show no entries or only partial results depending on permissions.
Best Practices
• Update work orders to On the Way to capture travel time and mileage automatically.
• Have users clock in and clock out to record accurate working time.
• Review the Timesheets page regularly using filters to identify missing entries.
• Export CSV reports when preparing payroll or operational reports.
• If entries appear missing, verify the user has access to the related records.